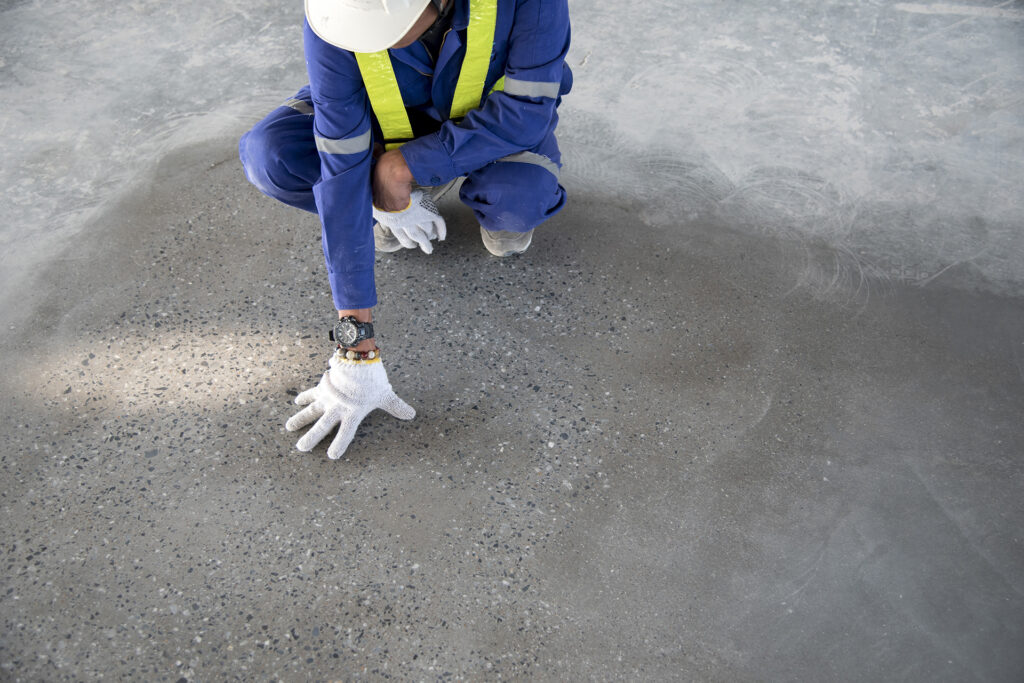
How to understand which diamond tools to use
Understanding the hardness of concrete floors is a very important phase in the process of smoothing and polishing concrete floors, in a few simple steps it allows you to better proceed in the correct choice of which are the most correct diamond tools to use even before starting with direct smoothing tests that if performed without an exact knowledge of the surface hardness risks wearing out the metal diamonds, throwing away money and time.
How to Test Concrete Hardness Using a MOHS Scale
Concrete is made up of various elements of different hardness and density that vary from region to region, manufacturer and type of specification, so in order not to waste money and time the primary advice is to equip yourself with a MOSH hardness reading kit.
What is the MOHS scale?
The Mohs scale is an empirical criterion for evaluating the hardness of materials and takes its name from the German mineralogist Friedrich Mohs, who created it in 1812; the scale takes as a reference the hardness of ten minerals numbered progressively from 1 to 10, such that each one is able to scratch the one preceding it and is scratched by the one following it.
The minerals on the Mohs scale are as follows:
- Talc
- Plaster
- Calcite
- Fluorite
- Apatite
- Orthoclase
- Quartz
- Topaz
- Corundum
- Diamond
Mohs hardness test kits usually contain several metal pens (also called picks) with different numbered tips. Using these picks quickly and easily provides a general guide to surface hardness.
Steps to run the test:
In the kit there are four picks with two tips each, the numbering is from 9 to 2, start with a pick with a high number, with the n. 9, the trick to using the tester tool correctly is to hold the pick (the metal pen) like a pencil with your fingers close to the tip. Then make a line on the surface with the same pressure you would use to sign on a piece of paper but make sure the tip remains vertical, not at an angle, so you have an even pressure. Do not force the scratch, it is not necessary.
Using the pick, draw a line 4-5 centimeters towards you, you will notice that pick #9 will easily leave a scratch, the subsequent picks will leave less and less of a scratch so continue down the scale until you come across the pick that will not scratch the surface.
For example, if #5 leaves a scratch but #4 does not, the floor is about a 4.5 on the MOHS scale.
That's it, now you can clearly proceed with the choice of the most correct abrasive tools without wasting your money, it will be simple, just use the FEDERCHEMICALS reference scheme to select the most appropriate tool.
Small practical advice:
Picks should always be sharp and in good condition, there is a small stone in the kit that can be used to correct the tip by resharpening it.
Always use caution when handling as picks have extremely sharp and potentially dangerous tips.
It is advisable to test different positions on the floor to obtain a more accurate result, in fact there may be more than one jet present in different areas of the floor, which can give very different results.
Also watch for signs of micro-topping, self-leveling, or filling/patching compounds. Look for different colors, textures, or possible edge delamination for clues.

Federchemicals leader in the development of products for the treatment of concrete floors
